How to Plan a Cabin Air Filter Change
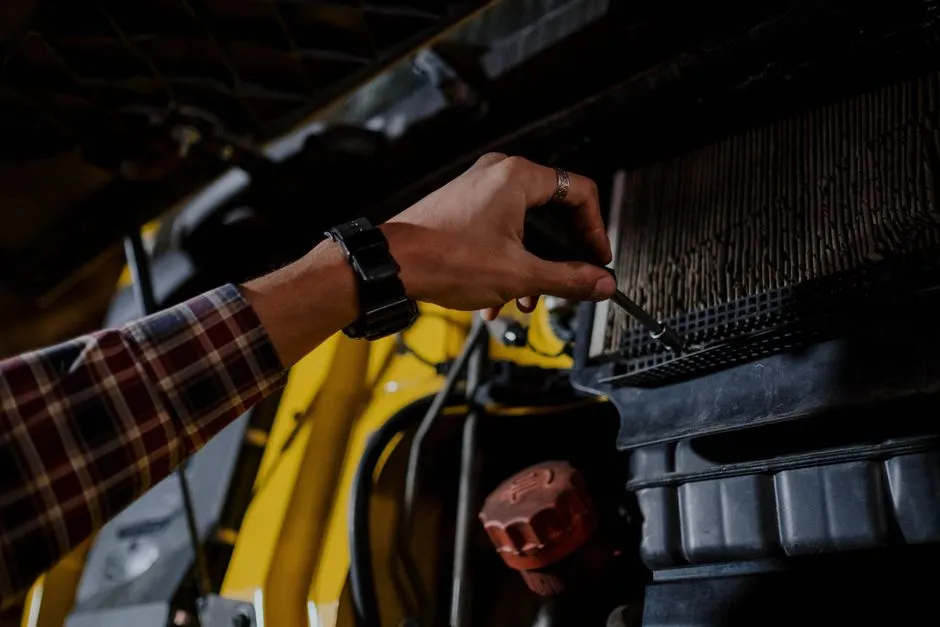
Cabin filter replacement starts with access and airflow
A cabin air filter removes some particles from air entering the passenger compartment. Location, service interval, filter type, airflow direction, and access vary widely. Some sit behind a glovebox; others require cowl or trim removal. Read the exact procedure before unloading the glovebox's archaeological layers onto the floor.
Confirm the correct filter
Match the vehicle, climate-control configuration, filter dimensions, frame, tabs, and any activated-carbon or special-media requirement. Check whether the vehicle has one filter, multiple panels, or none from the factory.
An airflow arrow shows air movement, while an “up” arrow shows physical orientation. They are not always interchangeable. Use the housing and service information to interpret the marking.
Make the vehicle safe
Park, switch the climate system and vehicle off, control automatic start, and remove the key as directed. Keep fingers away from blower fans and powered doors. Some vehicles can run ventilation after shutdown; follow the manual.
Protect trim and collect clips in a tray. Airbags and restraint wiring may be near dashboards and gloveboxes. Stop if the procedure approaches yellow connectors, restraint components, or undocumented wiring.
Open the access panel carefully
Remove only the stops, dampers, screws, clips, or trim specified. Support the glovebox so hinges do not twist. Do not pry against brittle plastic with a metal screwdriver when an approved trim tool or different release is required.
Basic tool selection matters because one damaged tab can convert a filter job into a permanent dashboard rattle.
Observe the old filter before removal
Note airflow arrow, frame position, pleat direction, seals, and multi-panel overlap. Photograph it. Pull slowly so leaves, insects, and dust do not fall into the blower or interior.
Do not reach deep into the housing or rotate the blower by hand. Use only the documented cleaning method; vacuuming near delicate doors or sensors can cause damage.
Inspect what the filter reveals
Look for heavy debris, moisture, mold-like growth, rodent material, oil, odor, collapse, and a damaged housing seal. Moisture or repeated odor may involve drains, water intrusion, evaporator contamination, or another fault that filter replacement cannot solve.
Rodent debris can carry health hazards. Avoid disturbing it and use qualified cleaning guidance appropriate to your region.
Install without crushing the seal
Compare filters, orient the arrow correctly, and slide the new element along its guides without folding pleats or damaging foam. Multi-piece filters may require a specific sequence. Refit the cover and every glovebox stop, damper, and clip.
Test climate operation
Start the system and test fan speeds, mode doors, noise, airflow, and glovebox closure. Stop for rubbing, clicking, weak airflow, warning messages, or a cover that will not latch. Do not assume the new filter is restrictive until fit and system condition are checked.
Use DIY preparation and the no-DIY line when access involves restraint systems, cowl sealing, or extensive trim. Record part, orientation, date, odometer, and condition. Clean air is lovely; a filter installed sideways like a folded napkin contributes mainly misplaced optimism and several avoidable noises.