How to Prepare for DIY Car Maintenance
DIY maintenance begins before the toolbox opens
Preparing for vehicle work means confirming the exact procedure, classifying hazards, checking your workspace, matching tools and consumables, and deciding what will make you stop. A five-minute job can become an overnight project when a clip breaks, a specification is missing, or the weather begins contributing opinions. Plan for the car to remain safe if nothing goes as planned.
Obtain exact service information
Use the official owner's manual and appropriate service information for the exact model year, market, powertrain, configuration, and repair. Identify specifications, fastener sequence, replacement-only parts, warnings, lifting points, fluid handling, calibrations, and verification steps.
Do not substitute a video of a similar vehicle. Similar is not a torque specification, connector lock, or high-voltage boundary.
Classify the hazards
List lifting, rolling, stored spring force, hot or pressurized fluid, fuel, refrigerant, electricity, high voltage, rotating parts, sharp edges, airbags, pyrotechnic pretensioners, chemicals, fire, and environmental disposal. If you cannot control one hazard through the documented procedure and proper equipment, send the work to a qualified professional.
When not to DIY provides a decision line before pride acquires a socket set.
Prepare the workspace
Use a firm, level, well-lit, ventilated area where the work is permitted. Keep children, pets, flames, smoking, and unrelated traffic away. Never run an engine in an enclosed space. Check weather and ensure emergency access remains open.
Lay out clean containers for fasteners and parts. Protect surfaces without creating trip or fire hazards. Have absorbent material and disposal containers suitable for the exact fluid.
Match every tool
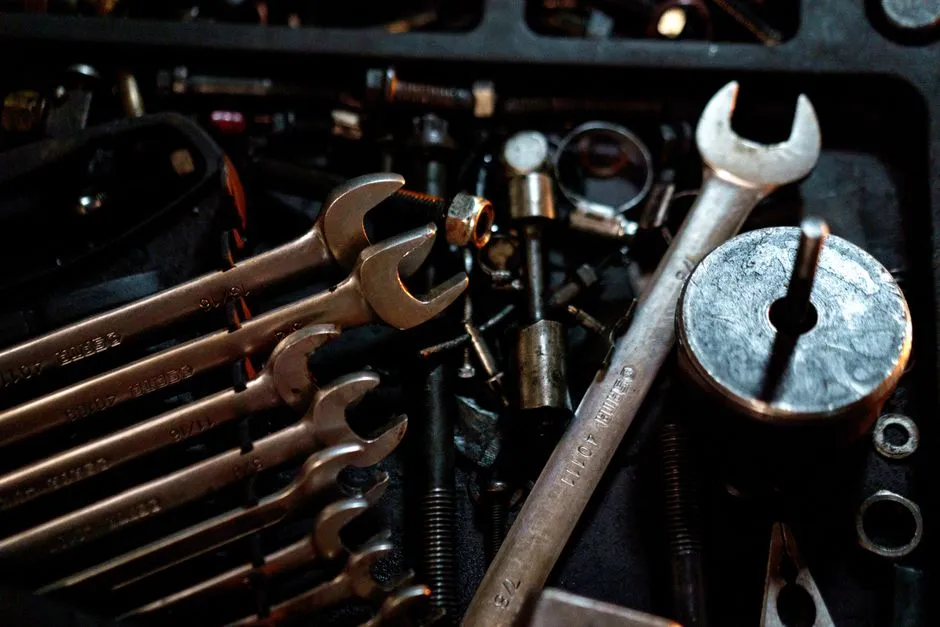
Build a list from the service procedure: fastener sizes, drive tools, pullers, measuring equipment, torque wrench, scan tool, and personal protective equipment. Inspect tools for damage and confirm capacities.
Improvised tools can damage components or injure the user. Pliers are not every wrench's chaotic cousin.
Verify parts and consumables
Confirm part numbers, revision, seals, clips, one-time fasteners, fluid specification, quantity, and storage condition. Compare the new part physically before disassembly without assuming visual similarity proves compatibility.
Keep proof of purchase and product documentation. Do not open every package until the return implications and match are clear.
Create a stop plan
Define what triggers a pause: unsafe support, missing specification, damaged connector, rounded fastener, unexpected leak, wiring difference, severe corrosion, unavailable replacement, or a step outside your competence. Arrange alternative transport and secure storage before beginning.
Take photographs before disconnection and label parts without exposing personal data. Never rely on memory for routing or orientation.
Plan reassembly and verification
Read through the full procedure, including bleed, calibration, relearn, leak check, code handling, test drive, and final torque confirmation. Use the torque-spec guide to understand conditions, not merely the number.
Record date, odometer, parts, fluid, tools, measurements, and results. Dispose of hazardous material through approved local channels.
The goal of preparation is not to prove you can start. It is to prove you can finish safely—or stop safely when the vehicle introduces an uninvited chapter. Review the complete plan once more before loosening the first fastener.