How to Read a Fastener Torque Specification
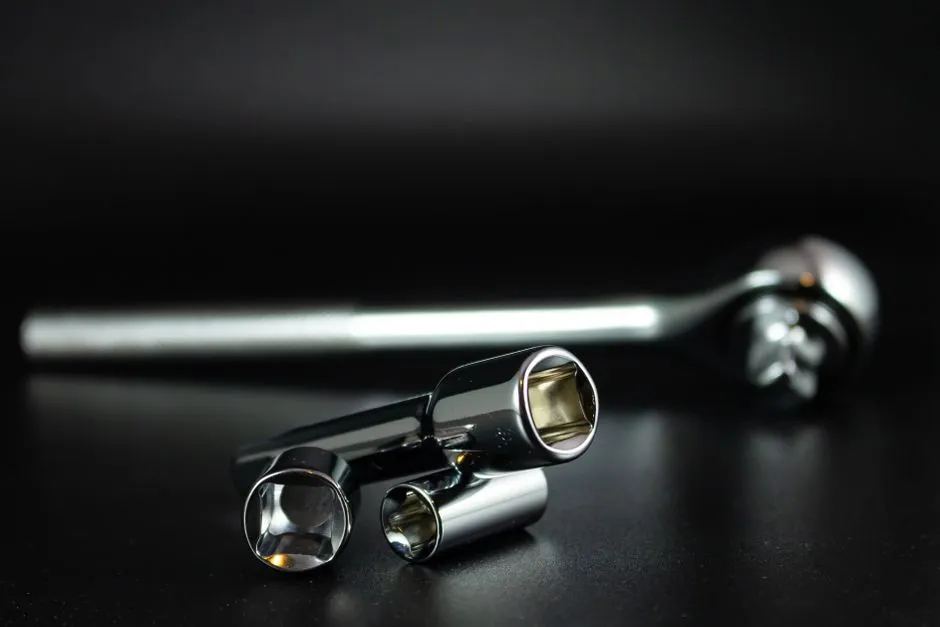
A torque specification is more than a number
A vehicle fastener specification includes the exact fastener, units, thread and surface condition, tightening sequence, stages, reuse rule, and sometimes an additional angle. “Tighten to 80” is not a usable instruction until you know 80 what, applied where, in which order, and whether the threads are dry. Numbers enjoy context almost as much as lawyers do.
Match the exact application
Use current official service information for the precise model year, market, powertrain, component, position, and fastener revision. Similar-looking bolts can use different grades, lengths, coatings, washers, or joint designs.
Do not copy a specification from a forum, retailer table, or another engine. Verify units carefully: newton-metres, pound-feet, and pound-inches are not interchangeable.
Read the thread condition
Specifications may assume clean dry threads, factory coating, specified oil, sealant, threadlocker, or a particular replacement fastener. Friction changes how much indicated torque becomes clamp load. Adding anti-seize “for next time” can create excessive tension if the instruction assumed dry threads.
Clean only by the documented method. Chasing threads, abrasive cleaning, and taps can remove material or coating and alter fit.
Follow sequence and stages
Cylinder heads, covers, wheels, manifolds, and other multi-fastener joints may use a numbered pattern and several passes. The sequence distributes load and controls distortion. Write it on a diagram and mark completed stages without confusing a mark with proof of final torque.
Do not tighten one fastener fully while its neighbors are still introducing themselves unless the procedure says so.
Understand torque plus angle
Some procedures specify an initial torque followed by one or more angular rotations. The angle controls additional fastener stretch after seating. Use an angle gauge or suitable electronic tool and a stable reference. Never replace the angle with a guessed final torque.
Fasteners designed for controlled yield or explicitly marked one-time use must be replaced as directed. Measure reusable fasteners when the service information provides a limit.
Check special notes
Look for hot or cold assembly state, left-hand threads, prevailing-torque nuts, locking tabs, cotter pins, waiting periods, sealant cure, retorque instructions, and whether accessories alter the joint. A wheel specification may also require clean mating surfaces and a later recheck under exact guidance.
Choose the measuring tool afterward
Once the specification is complete, select a torque wrench with appropriate range, units, direction, and accuracy. An angle step may need another tool. DIY preparation ensures every stage is available before disassembly.
Stop for damaged threads
Cross-threading, pulled threads, corrosion, stretching, rounded heads, contaminated holes, or a fastener that will not seat normally require repair information and often professional assessment. Do not simply raise the torque until the resistance becomes emotionally satisfying.
The no-DIY guide applies strongly to safety-critical joints. Record the source, revision, fastener part number where relevant, condition, tool, sequence, and outcome. The correct torque specification is a procedure in miniature. Record its source and revision with the completed service so future work can reproduce the condition. Very carefully read every documented word before trusting the number in bold.